")
There’s this little window I look forward to every day. My toddler is quietly watching nursery rhymes, completely absorbed, singing along to songs that I now know better than the back of my hand. That’s when I slip into the kitchen. It’s not long maybe twenty or thirty minutes but it’s enough. Enough to melt some butter, mash those overripe bananas on the counter, and make something warm and sweet just for us.
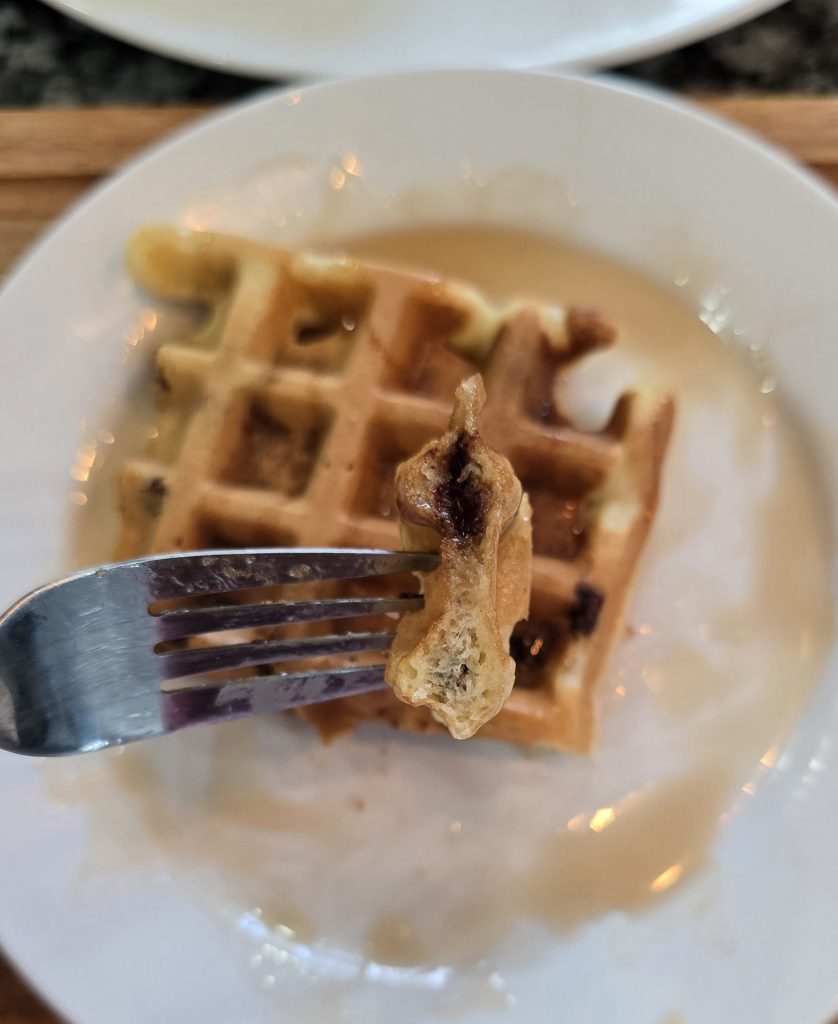
It’s never perfectly quiet. Halfway through, he’s usually back, running through the kitchen, climbing into a chair, asking for a bite of chocolate chips. But in those in-between moments, when it’s just me, the smell of cocoa, and a loaf in the oven, it feels like a deep breath. A tiny reset. A reminder that little things, like banana bread, can bring comfort when you need it most.
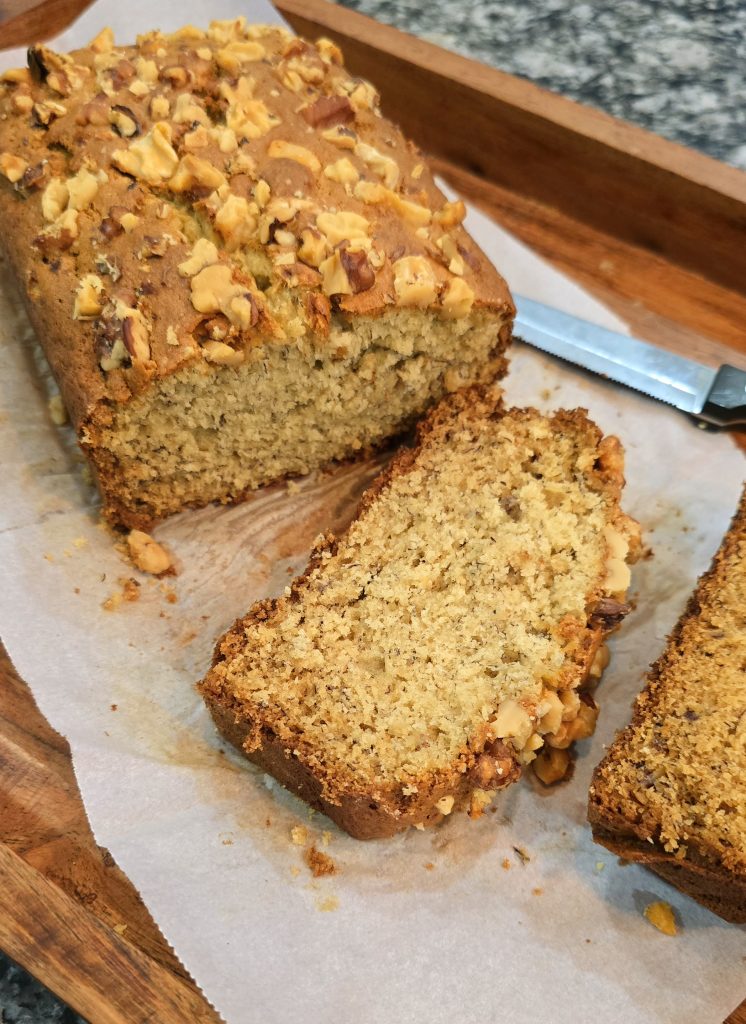
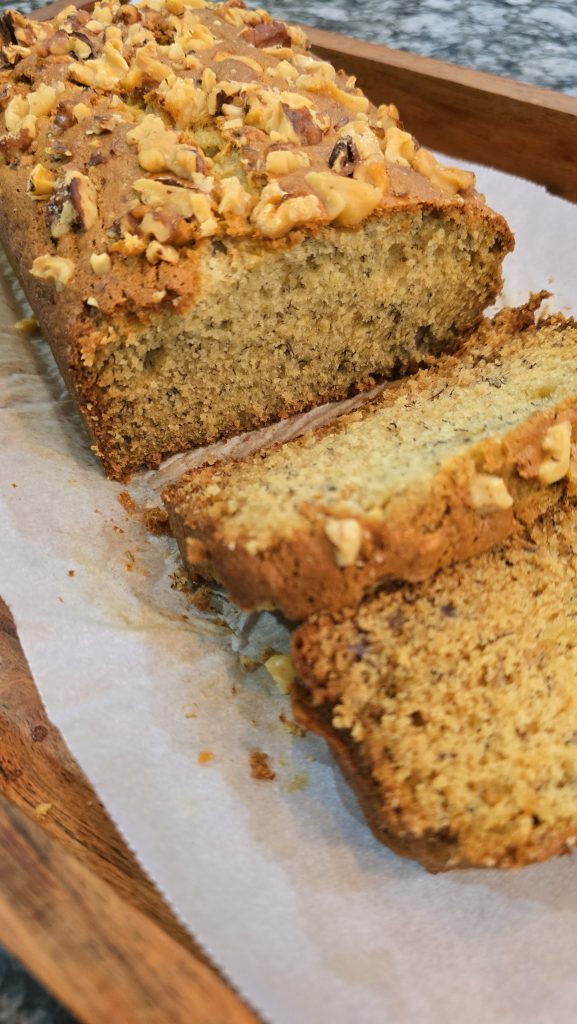
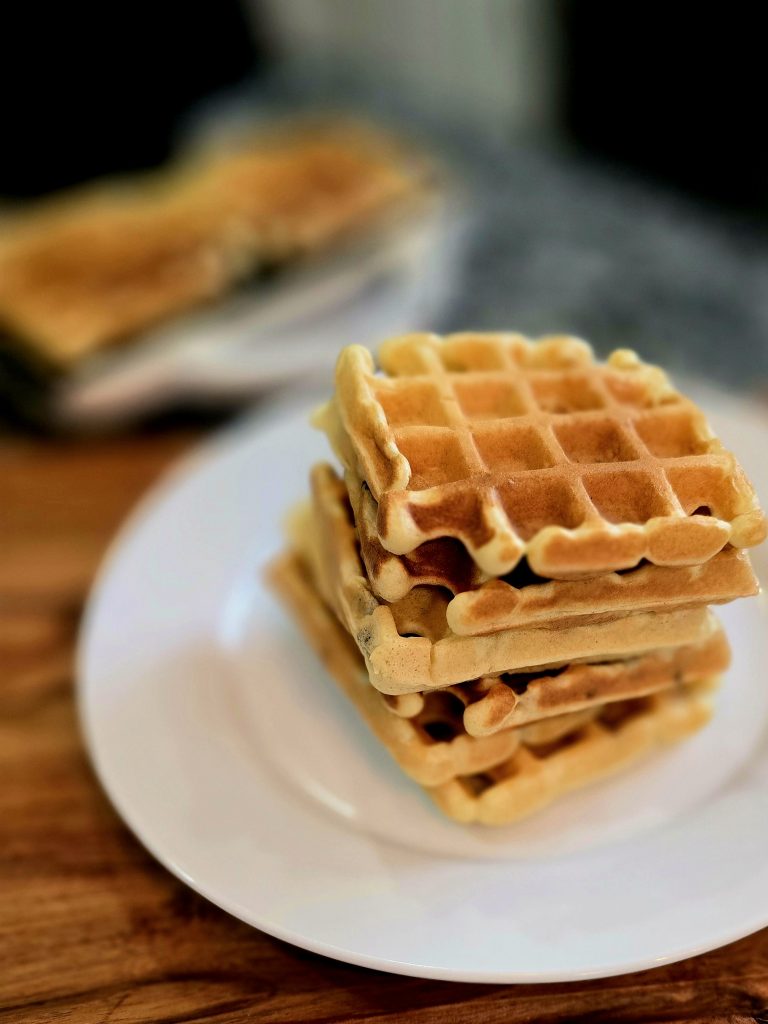
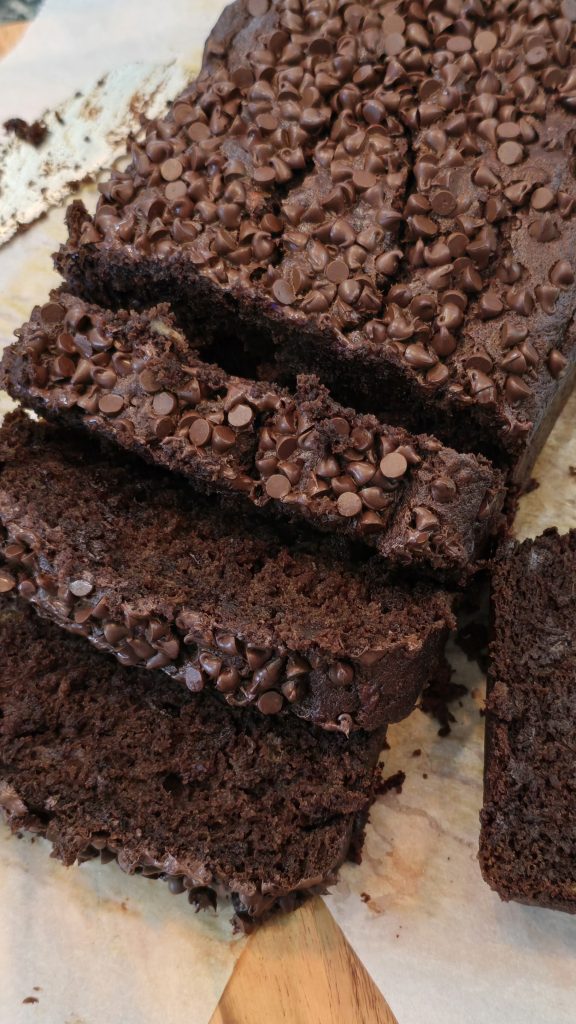
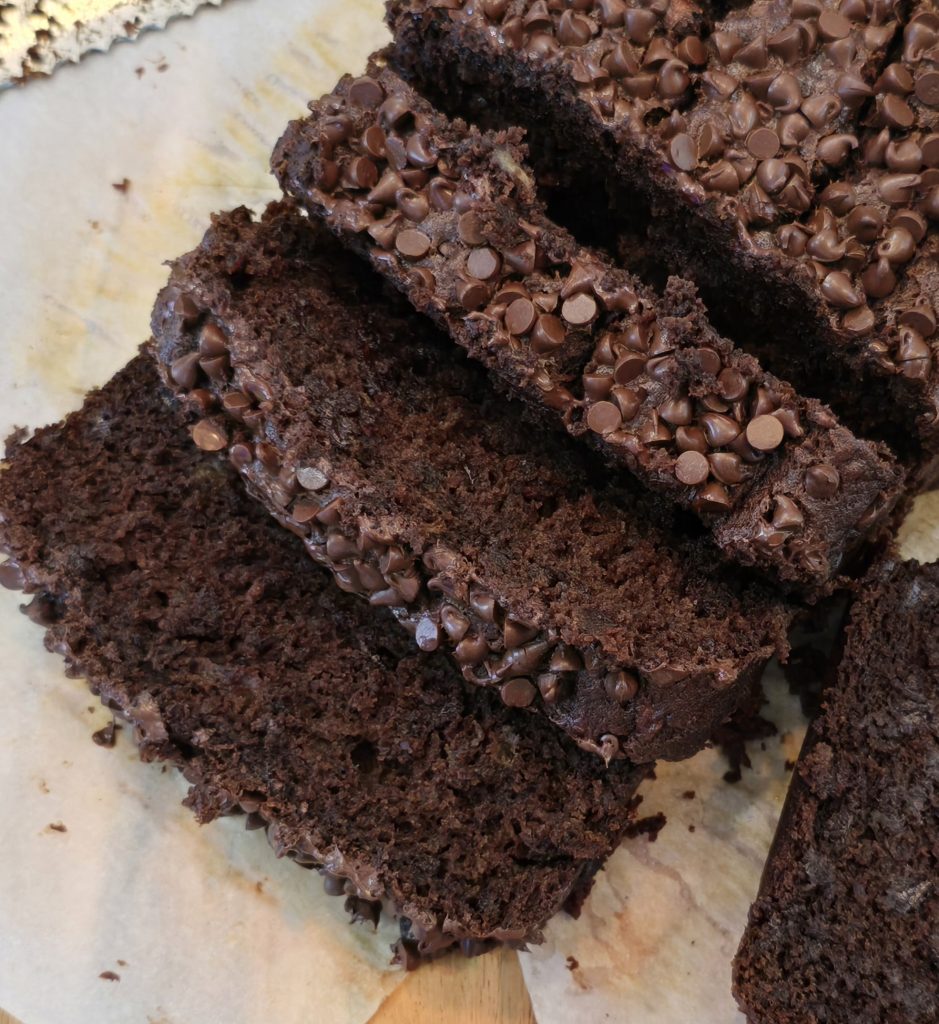
This banana bread is my go-to. It’s unbelievably moist, soft like cake, full of rich chocolate flavor, and never fails. No mixer, no fuss, just one bowl, a spoon, and a little quiet before the next round of “Mommy, look!”
Moist and Soft Chocolate Banana Bread Recipe
Ingredients:
- 3 large ripe bananas (the more brown spots, the better)
- 1 cup all-purpose flour
- 1/2 cup unsweetened cocoa powder
- 1/4 cup melted butter
- 1/4 cup vegetable oil
- 1 egg
- 1 tsp vanilla extract
- 1 tsp baking soda
- 1 cup semi-sweet chocolate chips (reserve 1/4 cup for topping)
Why Each Ingredient Matters
- Bananas: Super ripe ones make the bread naturally sweet and extra moist. They’re the backbone of both the flavor and texture.
- All-Purpose Flour: Keeps things simple and light without making the bread dense.
- Cocoa Powder: Adds that deep, rich chocolate flavor. Make sure it’s unsweetened so it balances the sweetness.
- Melted Butter: For richness and that bakery-style taste. It makes the crumb tender.
- Vegetable Oil: Locks in moisture so the bread stays soft for days.
- Egg: Binds everything together and gives structure to the loaf.
- Vanilla Extract: Just a touch rounds out the flavor and brings out the chocolate and banana.
- Baking Soda: Helps the bread rise and gives it a soft, fluffy texture.
- Chocolate Chips: Adds pockets of melty chocolate and makes every slice feel like a treat. Don’t skip the extra on top, it makes it look bakery-worthy.
Instructions
- Preheat oven to 350°F (175°C). Grease or line a standard loaf pan with parchment paper.
- Mash the bananas in a large mixing bowl until smooth.
- Whisk in the melted butter, oil, egg, and vanilla extract until fully combined.
- Add the flour, cocoa powder, and baking soda. Stir gently until just mixed, don’t overwork it.
- Fold in 3/4 cup of chocolate chips. Pour batter into your loaf pan and sprinkle the remaining 1/4 cup on top.
- Bake for 50–60 minutes. Check with a toothpick, it should come out with a few moist crumbs, not raw batter.
- Let it cool in the pan for 10–15 minutes before moving to a rack or slicing.
Helpful Tips & Notes
- If bananas aren’t ripe yet: Roast them at 300°F for 15–20 minutes (peels on). Let them cool and mash as usual.
- Want it even softer? Use 4 bananas instead of 3, just know it’ll be extra moist and may need a few extra minutes in the oven.
- Freezer-friendly: Slice and freeze individually. Pop one in the microwave for 20–30 seconds for a warm, chocolatey snack anytime.
- Customize it: Add chopped nuts, swirl in peanut butter, or try white chocolate chips for a twist.
Moist and Soft Chocolate Banana Bread (Made During That One Quiet Moment of the Day)
10
servings262
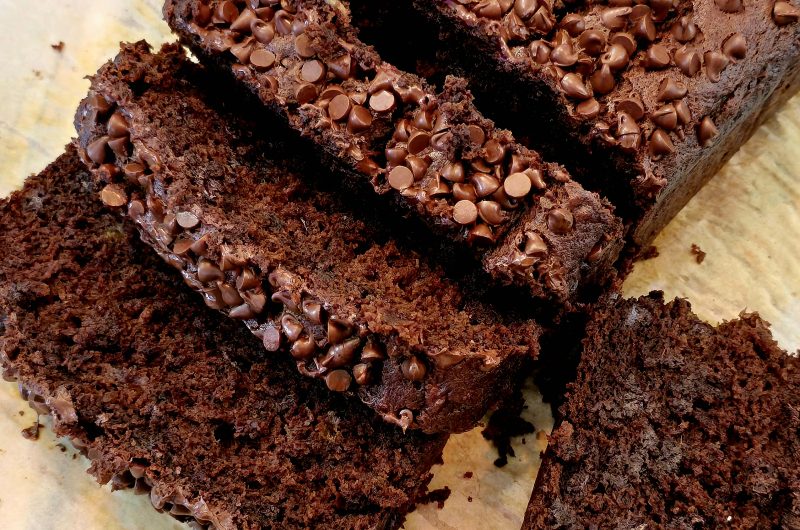
kcalRich, moist, and loaded with chocolate, this banana bread is the perfect way to use up ripe bananas. Made with cocoa powder and chocolate chips, it’s a one-bowl treat that’s freezer-friendly and easy to customize.
Ingredients
3 large ripe bananas (the more brown spots, the better)
1 cup all-purpose flour
1/2 cup unsweetened cocoa powder
1/4 cup melted butter
1/4 cup vegetable oil
1 egg
1 tsp vanilla extract
1 tsp baking soda
1 cup semi-sweet chocolate chips (reserve 1/4 cup for topping)
Directions
- Preheat oven to 350°F (175°C). Grease or line a standard loaf pan with parchment paper.
- Mash the bananas in a large mixing bowl until smooth.
- Whisk in the melted butter, oil, egg, and vanilla extract until fully combined.
- Add the flour, cocoa powder, and baking soda. Stir gently until just mixed — avoid overmixing.
- Fold in 3/4 cup of chocolate chips. Pour the batter into your prepared loaf pan and sprinkle the remaining 1/4 cup on top.
- Bake for 50–60 minutes. A toothpick inserted should come out with moist crumbs, not raw batter.
- Let it cool in the pan for 10–15 minutes before transferring to a rack or slicing.
Notes
- If bananas aren’t ripe yet: Roast them at 300°F for 15–20 minutes with the peels on. Let them cool, then mash as usual.
- Want it even softer? Use 4 bananas instead of 3. It’ll be extra moist and may need a few extra minutes in the oven.
- Freezer-friendly: Slice and freeze individually. Reheat in the microwave for 20–30 seconds for a warm, chocolatey snack anytime.
- Customize it: Add chopped nuts, swirl in peanut butter, or swap in white chocolate chips for a different flavor twist.
Baking this loaf reminds me that even in the middle of the wild, wonderful mess of motherhood, we can still carve out a little space for something sweet. Not perfect. Not quiet for long. But simple, warm, and made with love, and that’s everything.