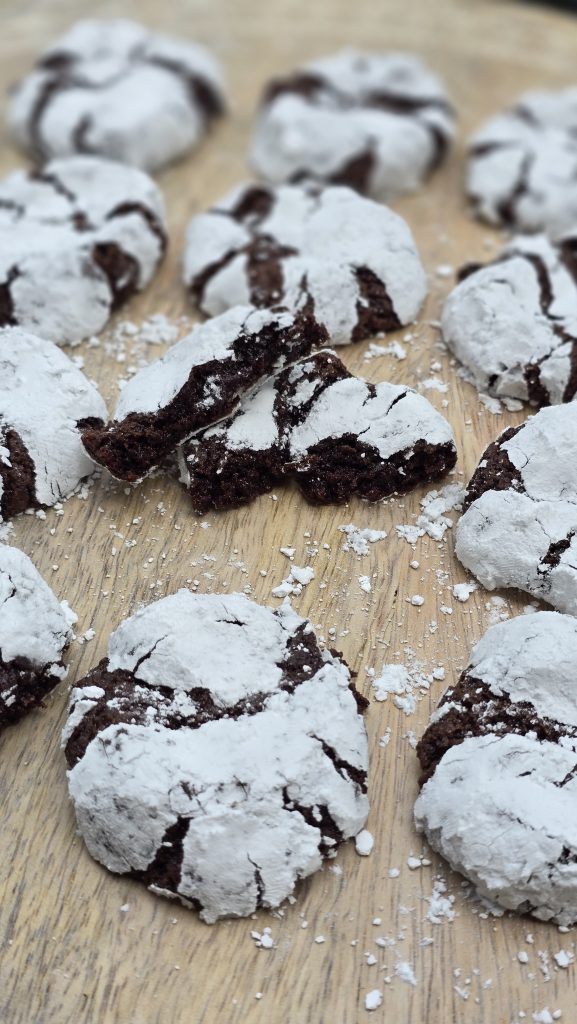
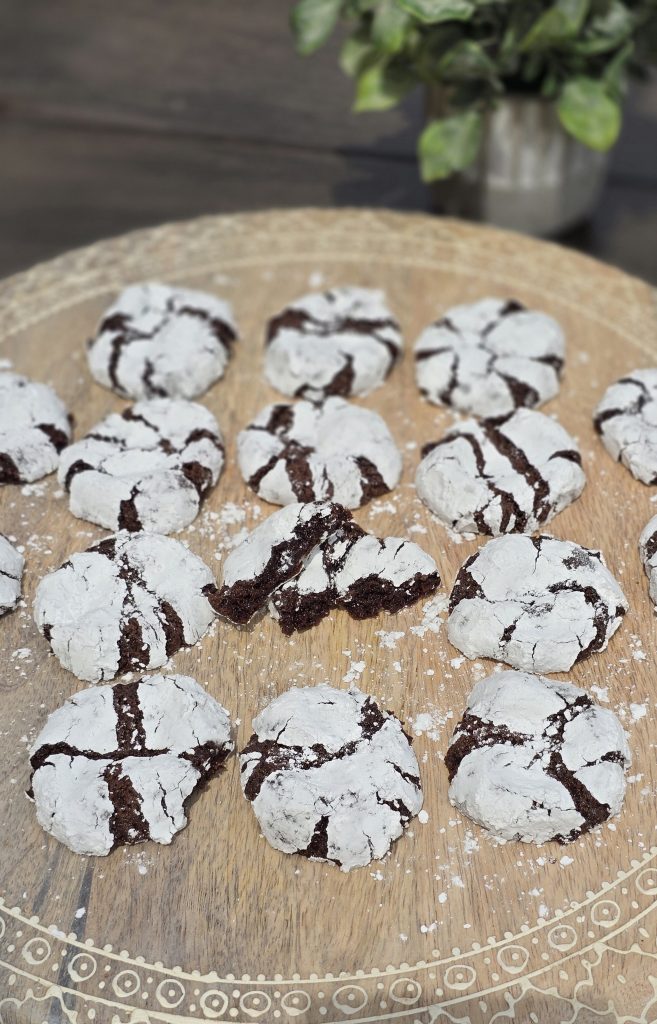
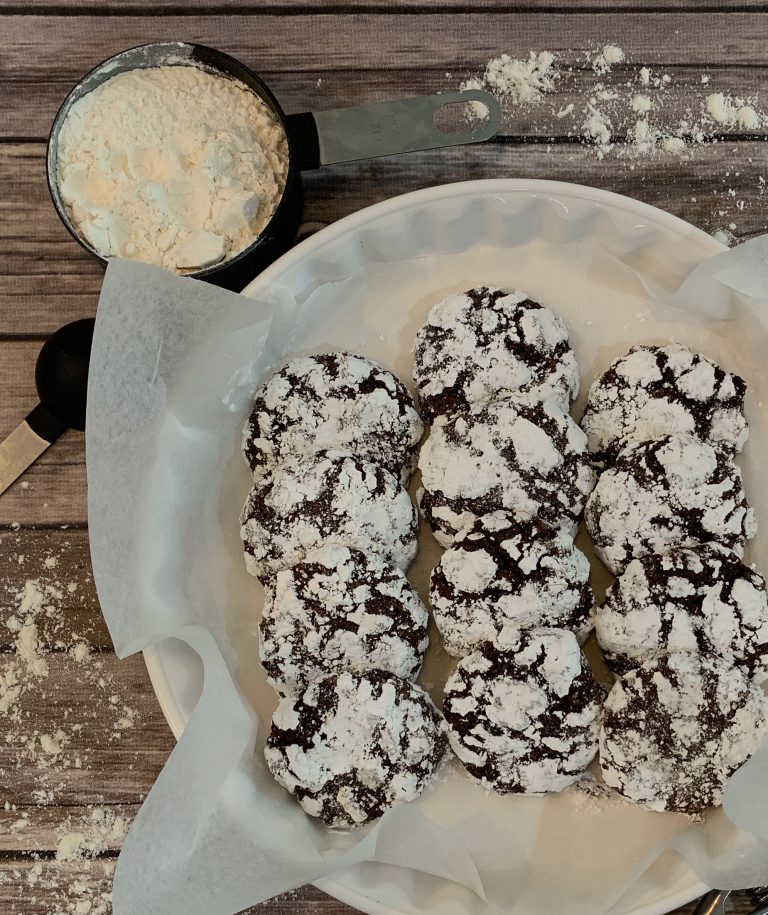
Hi friends! Did you know that chocolate crinkles are one of my all-time favorite cookies? Every bite takes me back to my childhood. My sister used to bring these home after work, and they always made me feel so loved. That’s why they’re so special to me.
Today, I’m so excited to share this recipe with you. I hope it brings the same happiness to your family and loved ones as it does to mine. Let’s bake some love and sweetness together!
Baking, for me, is more than just mixing ingredients. It’s about creating memories that stay with you forever. These chocolate crinkles are perfect for any occasion—birthdays, Christmas, or even just an afternoon snack. They never disappoint.
I remember the first time I tried making these cookies. I was nervous, but when I saw the beautiful cracks forming in the oven, I knew I had made something magical. Over the years, this has become my favorite way to show people I care.
So, put on your apron and let’s get baking. I promise these cookies will steal the show at your table!

Ingredients You’ll Need:
- 2 cups all-purpose flour
- 1 cup unsweetened cocoa powder
- 2 cups white sugar
- 2 tsp baking powder
- 1 tsp salt
- 1/2 cup vegetable oil
- 4 eggs
- 2 tsp vanilla extract
- 1/2 cup (or more) confectioners sugar for coating
Step-by-Step Directions:
Step 1: Mix the Dry Ingredients
In a large mixing bowl, whisk together the flour, cocoa powder, sugar, baking powder, and salt until everything is well combined. This step ensures all the dry ingredients are evenly distributed for a consistent dough.
Step 2: Combine the Wet Ingredients
Create a well in the center of the dry ingredients and add the eggs, vegetable oil, and vanilla extract. Start mixing gently with a spatula, then switch to a hand mixer or stand mixer and blend until the dough becomes thick, smooth, and slightly sticky.
Step 3: Chill the Dough
Scrape the dough into a ball and wrap it tightly with plastic wrap. Refrigerate it overnight or for at least 4 hours. Chilling the dough makes it easier to roll and helps develop the flavors.
Step 4: Prepare for Baking
Preheat your oven to 350°F (175°C). Line your baking sheets with parchment paper to prevent sticking and make cleanup easier.
Step 5: Shape and Coat the Dough
Scoop out about a 1tbs or 1 1/2tbsp of dough and roll it into a ball. Drop the dough ball into a bowl of confectioners sugar and roll it around until fully coated. Make sure the coating is thick for a beautiful crinkle effect.
Step 6: Arrange and Bake
Place the coated dough balls on the prepared baking sheet, leaving about 2 inches of space between them. Bake for 12–15 minutes or until the edges are firm and the centers are still soft. The cracks may appear early, so focus on the bake time and texture.
Step 7: Cool and Serve
Let the cookies cool on the baking sheet for about 10 minutes. They’ll continue to firm up as they cool, giving you that perfect soft and fudgy texture we all love.

Pro Tips for Perfect Chocolate Crinkles:
- Keep the Dough Cold: Chilling the dough overnight keeps it firm and easier to handle while baking. It also helps create the perfect cracks!
- Generous Sugar Coating: Make sure to coat each ball completely with confectioners sugar. Don’t skimp—this is what gives them that beautiful crinkle effect.
- Watch the Bake Time: Bake for 12–15 minutes. The cracks may show up early, but don’t rely on appearance alone. Focus on texture—edges should feel firm, and the centers should be slightly soft and moist. If in doubt, test one with a toothpick; it should come out with a few moist crumbs, not wet batter. Remember, the cookies will firm up as they cool, so avoid overbaking!
Best Chocolate Crinkles Recipe Ever!
4
servings300
kcalThese classic holiday cookies have a fudgy chocolate center, a crackled surface, and a dusting of powdered sugar for a festive touch.
Ingredients
2 cups all-purpose flour
1 cup unsweetened cocoa powder
2 cups white sugar
2 tsp baking powder
1 tsp salt
1/2 cup vegetable oil
4 eggs
2 tsp vanilla extract
1/2 cup (or more) confectioners sugar for coating
Directions
- Step 1: Mix the Dry Ingredients
- In a large mixing bowl, whisk together the flour, cocoa powder, sugar, baking powder, and salt until well combined.
- Step 2: Combine the Wet Ingredients
- Create a well in the center of the dry ingredients. Add the eggs, vegetable oil, and vanilla extract. Mix gently at first, then blend with a hand or stand mixer until the dough becomes thick, smooth, and slightly sticky.
- Step 3: Chill the Dough
- Form the dough into a ball, wrap it tightly with plastic wrap, and refrigerate overnight or at least 4 hours. This makes it easier to roll and enhances the flavor.
- Step 4: Prepare for Baking
- Preheat your oven to 350°F (175°C) and line baking sheets with parchment paper.
- Step 5: Shape and Coat the Dough
- Scoop out 1–1.5 tablespoons of dough and roll into balls. Coat each ball in confectioners sugar, ensuring a thick coating for the crinkle effect.
- Step 6: Arrange and Bake
- Place coated dough balls on the prepared baking sheet, leaving 2 inches between them. Bake for 12–15 minutes until the edges are firm but centers remain soft.
- Step 7: Cool and Serve
- Allow cookies to cool on the baking sheet for 10 minutes. They’ll firm up as they cool, resulting in a soft, fudgy texture. Enjoy!
Notes
- Keep the Dough Cold: Chilling the dough overnight keeps it firm and easier to handle while baking. It also helps create the perfect cracks!
- Generous Sugar Coating: Make sure to coat each ball completely with confectioners sugar. Don’t skimp—this is what gives them that beautiful crinkle effect.
- Watch the Bake Time: Bake for 12–15 minutes. The cracks may show up early, but don’t rely on appearance alone. Focus on texture—edges should feel firm, and the centers should be slightly soft and moist. If in doubt, test one with a toothpick; it should come out with a few moist crumbs, not wet batter. Remember, the cookies will firm up as they cool, so avoid overbaking!
Final Thoughts
Thank you so much for baking along with me! I hope you enjoyed making these chocolate crinkles as much as I did. They’re a simple treat, but they never fail to bring smiles and sweet moments. Whether you’re baking for family, friends, or just yourself, these cookies are always a hit.
If you try this recipe, I’d love to hear how it turned out for you! Leave a comment below and share your baking stories. Don’t forget to like, subscribe, and share this recipe with your fellow bakers. 😊
Happy baking, and may your kitchen always be filled with love and sweetness!


