Tag

cookies

Browsing

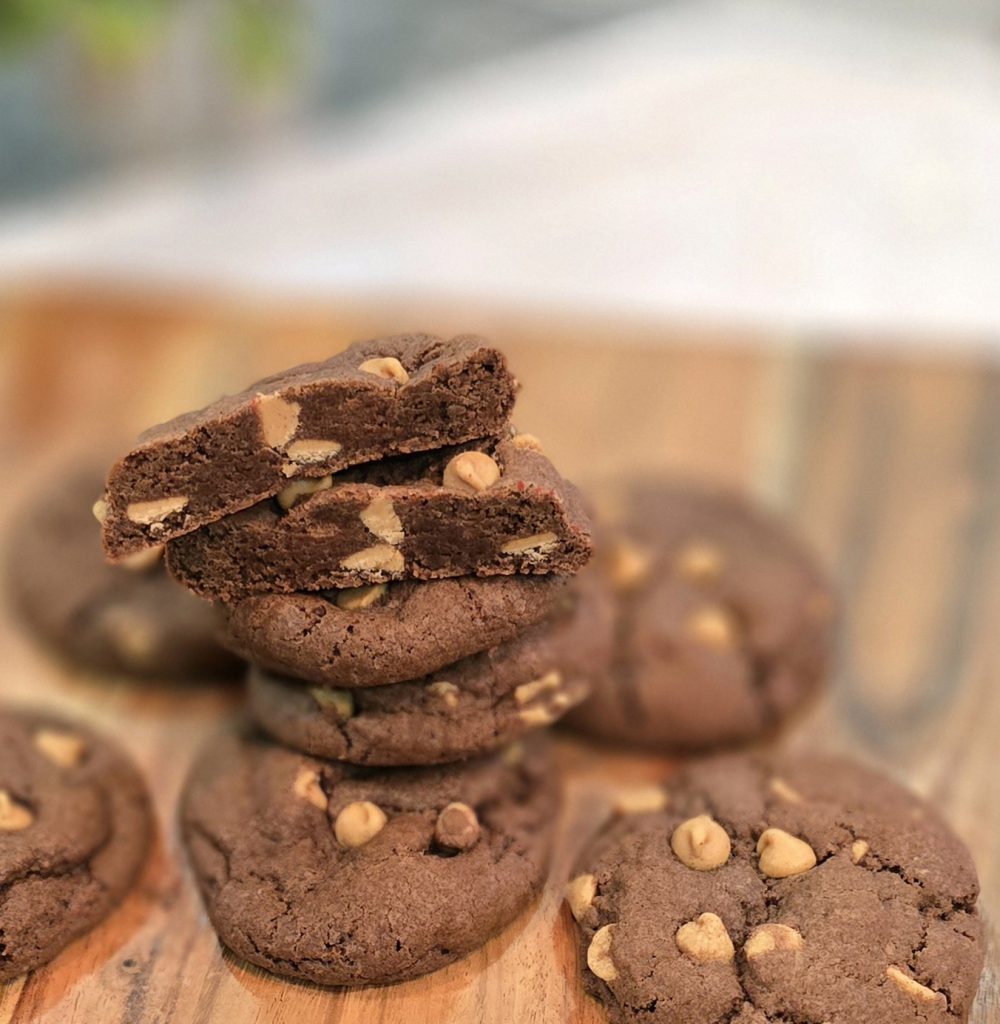
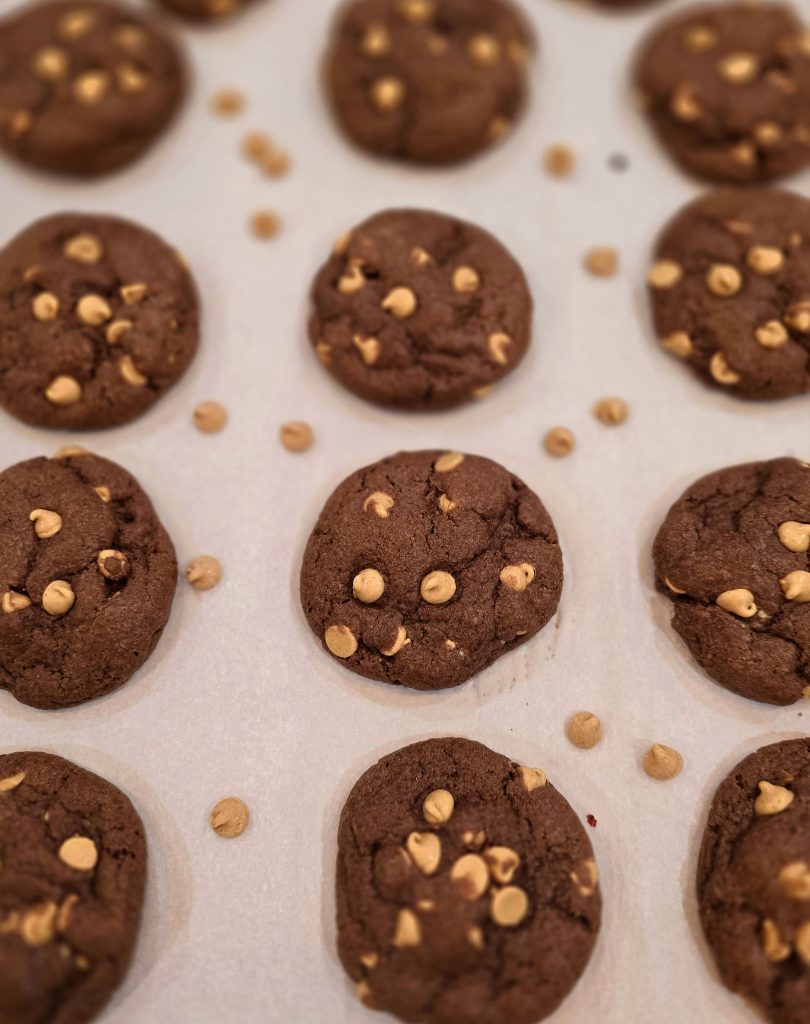
If there’s one thing my husband can’t resist, it’s anything with peanut butter. So when I made these Chocolate Peanut Butter Chip Cookies, I knew they’d be a hit—and I was right. He couldn’t stop reaching for more, and honestly, I don’t blame him.

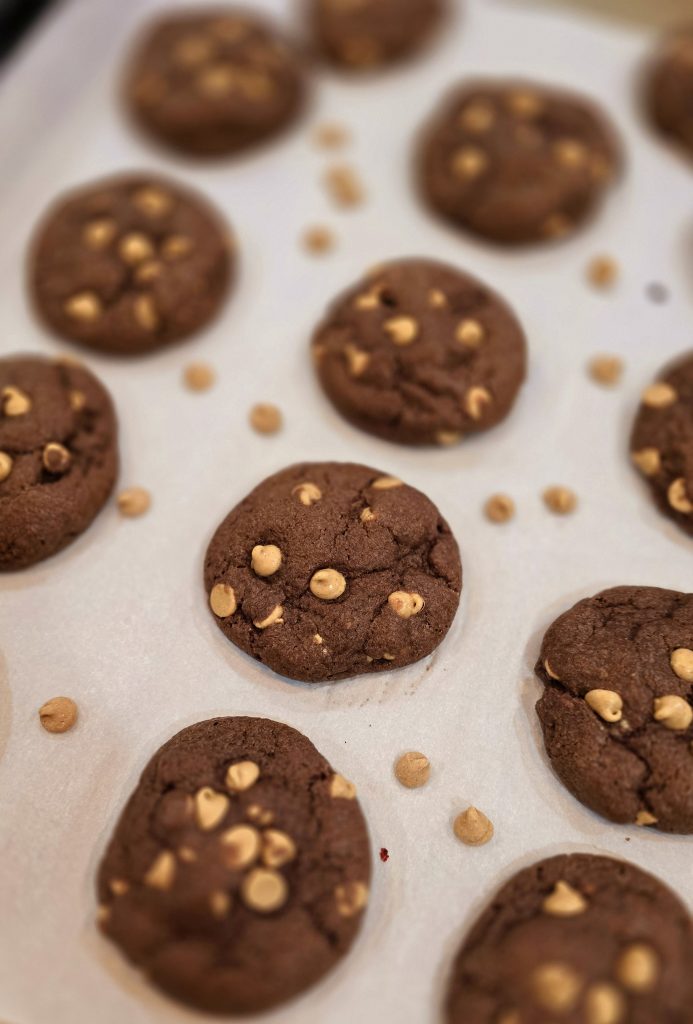
These cookies are the perfect combination of rich chocolate and creamy peanut butter chips. They’re soft and chewy on the inside, slightly crisp around the edges, and loaded with flavor in every bite.

Whether you’re baking for a quick snack, a gathering, or just because you’re craving something sweet, this recipe is easy to make and hard to resist. Let’s get started—you’re going to love these!

Ingredients

1/2 cup + 1 tbsp unsalted butter, softened

1/2 cup light brown sugar

1/3 cup white granulated sugar

1 medium egg

1 tsp vanilla extract (optional)

2 cups plain flour (all-purpose flour)

1/3 cup cocoa powder

1 1/2 tsp baking powder

1/2 tsp baking soda

1/2 tsp sea salt

1 1/2 cups peanut butter chips


Instructions

  1. Cream the butter and sugars.
    In a large mixing bowl, beat the softened butter, light brown sugar, and white sugar until light and fluffy.
  2. Add the wet ingredients.
    Mix in the egg and vanilla extract until smooth and creamy.
  3. Combine the dry ingredients.
    In another bowl, whisk together the flour, cocoa powder, baking powder, baking soda, and sea salt.
  4. Mix the dough.
    Gradually add the dry ingredients into the wet mixture, stirring until a thick dough forms.
  5. Fold in the peanut butter chips.
    Stir in the peanut butter chips evenly.
  6. Chill the dough for 1 hour.
    Why chill the dough? Refrigerating the dough firms up the butter, making the cookies thicker, chewier, and richer in flavor. It also prevents the cookies from spreading too much while baking.
  7. Preheat the oven to 350°F (175°C).
    Once the dough has chilled, preheat your oven and line a baking sheet with parchment paper.
  8. Weigh and shape the dough.

For standard-sized cookies, weigh each dough ball at 65 grams.

For larger cookies, weigh them at 75–100 grams for bakery-style treats.

Place the dough balls 2 inches apart on the baking sheet to allow space for spreading.

  1. Bake for 12–15 minutes.
    Bake until the edges are set but the centers still look slightly soft. They’ll firm up as they cool.
  2. Cool and enjoy!
    Let the cookies cool on the baking sheet for 5 minutes before transferring them to a wire rack. Enjoy them warm or store them for later (if they last that long).

Nutrition Facts (Per Cookie – 65g size)

Calories: 320

Protein: 5.8g

Fat: 15.7g

Carbohydrates: 40.2g

Why These Cookies Are a Crowd Favorite

These cookies are everything you want in a sweet treat—soft, chewy, and loaded with peanut butter flavor. My husband can’t get enough of them, and they’ve quickly become a go-to recipe in our house.

They’re perfect for bake sales, holidays, or just to keep on hand for those moments when you need something sweet. Plus, the dough can be made ahead and refrigerated, so you can bake a fresh batch whenever the craving strikes.


Pro Tips for Perfect Cookies

Chill the dough. Don’t skip this step—it makes the cookies thicker and chewier.

Mix it up. Add a handful of chocolate chips with the peanut butter chips for extra richness.

Go big. Make larger cookies for a bakery-style look and feel.

Store leftovers properly. Keep them in an airtight container at room temperature for up to a week, or freeze them for up to 3 months.


Chocolate Peanut Butter Chip Cookies – A Must-Try Treat!

Recipe by Tin-tin
Servings

16

servings
Calories

320

kcal

Soft and chewy cookies packed with rich peanut butter chips in a chocolate base.

Ingredients

  • 1/2 cup + 1 tbsp unsalted butter, softened

  • 1/2 cup light brown sugar

  • 1/3 cup white granulated sugar

  • 1 medium egg

  • 1 tsp vanilla extract (optional)

  • 2 cups plain flour (all-purpose flour)

  • 1/3 cup cocoa powder

  • 1 1/2 tsp baking powder

  • 1/2 tsp baking soda

  • 1/2 tsp sea salt

  • 1 1/2 cups peanut butter chips

Directions

  • Cream the butter and sugars: In a large mixing bowl, beat the softened butter, light brown sugar, and white sugar until light and fluffy.
  • Add the wet ingredients: Mix in the egg and vanilla extract until smooth and creamy.
  • Combine the dry ingredients: In another bowl, whisk together the flour, cocoa powder, baking powder, baking soda, and sea salt.
  • Mix the dough: Gradually add the dry ingredients into the wet mixture, stirring until a thick dough forms.
  • Fold in the peanut butter chips: Stir in the peanut butter chips evenly.
  • Chill the dough for 1 hour: Refrigerate the dough to firm up the butter, ensuring thicker, chewier cookies and preventing excessive spreading.
  • Preheat the oven to 350°F (175°C): Once the dough has chilled, preheat your oven and line a baking sheet with parchment paper.
  • Weigh and shape the dough:
  • For standard-sized cookies: Weigh each dough ball at 65 grams.
  • For larger, bakery-style cookies: Weigh them at 75–100 grams.
  • Place the dough balls 2 inches apart on the baking sheet.
  • Bake for 12–15 minutes: Bake until the edges are set but the centers still look slightly soft. They’ll firm up as they cool.
  • Cool and enjoy: Let the cookies cool on the baking sheet for 5 minutes before transferring them to a wire rack. Enjoy warm or store for later!

Notes

  • Chill the dough. Don’t skip this step—it makes the cookies thicker and chewier.
  • Mix it up. Add a handful of chocolate chips with the peanut butter chips for extra richness.
  • Go big. Make larger cookies for a bakery-style look and feel.
  • Store leftovers properly. Keep them in an airtight container at room temperature for up to a week, or freeze them for up to 3 months.

Final Thoughts: Bake These Today!

These Chocolate Peanut Butter Chip Cookies are a must-try, whether you’re baking for your family, friends, or just yourself. With their rich chocolate flavor and creamy peanut butter chips, they’re the perfect blend of comfort and indulgence.

So, grab your ingredients, roll up your sleeves, and get ready to bake a batch of cookies that everyone will love. And don’t be surprised if they disappear faster than you expected—mine always do!

Happy baking!

Is there anything more comforting than the smell of freshly baked cookies wafting through your kitchen? Imagine that aroma carrying hints of rich cocoa and melted chocolate—it’s enough to make anyone’s mouth water! These Triple Chocolate Chip Cookies are the ultimate treat for chocolate lovers, and trust me, they’re every bit as dreamy as they sound.

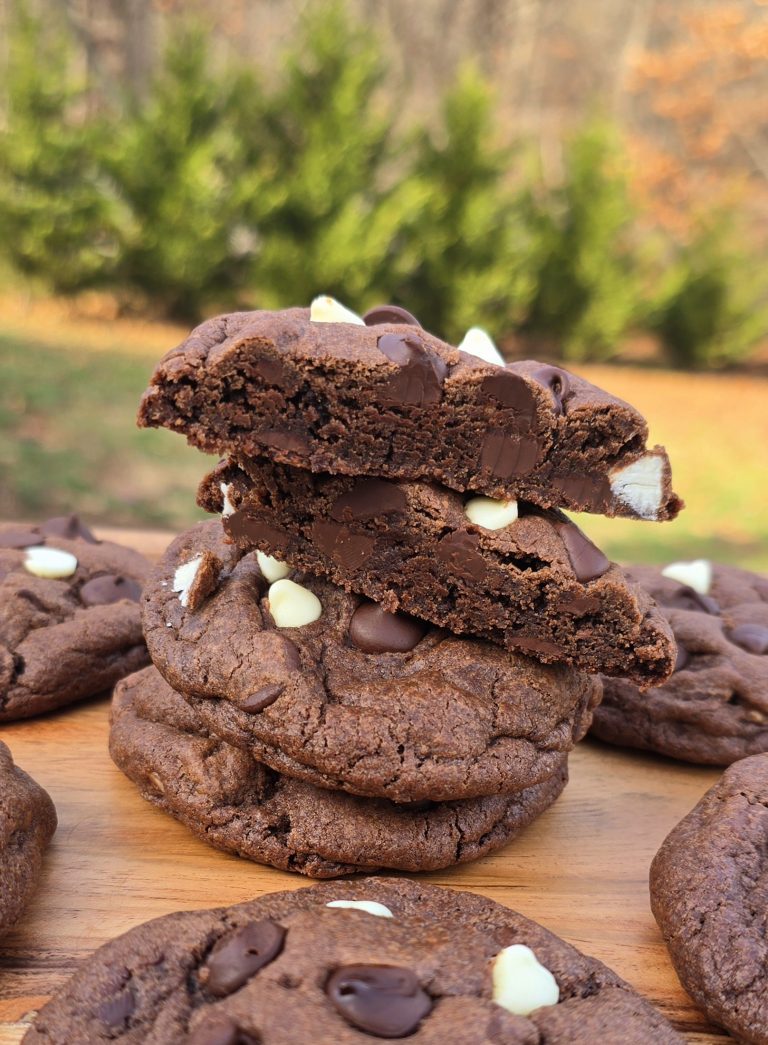
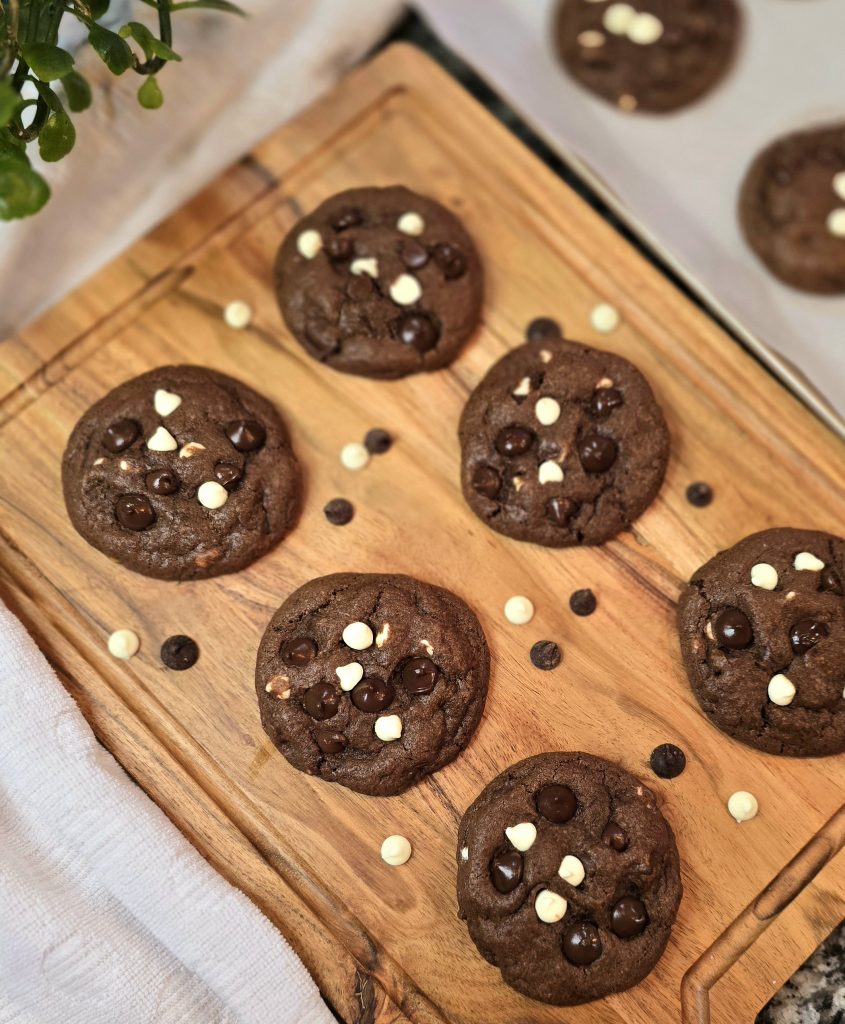
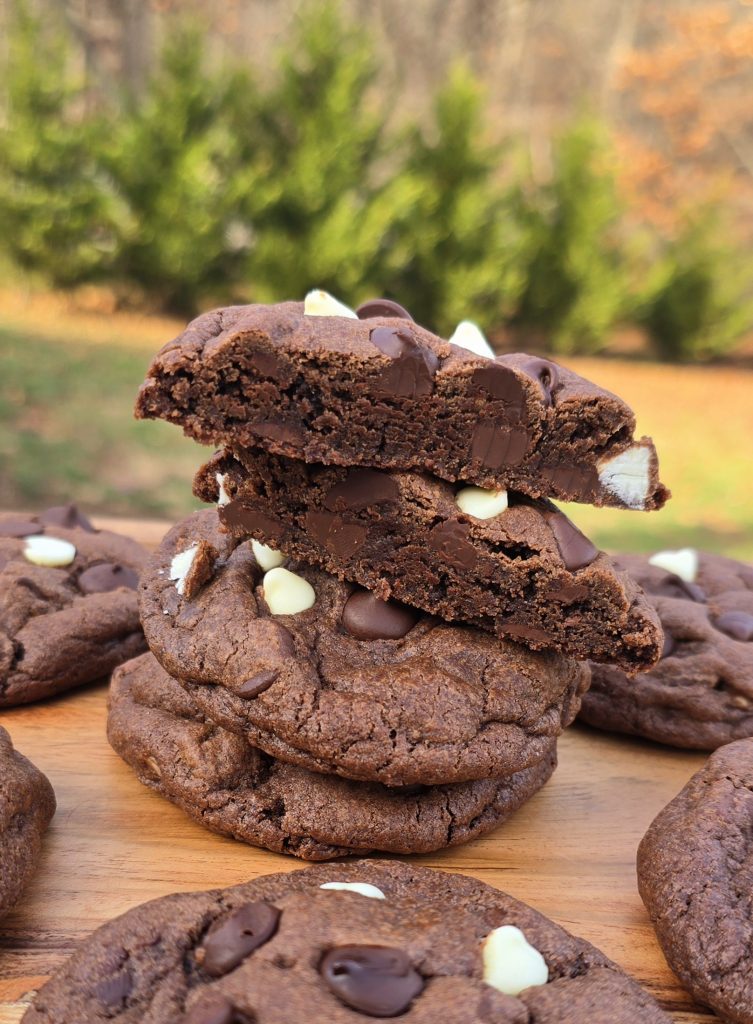
These cookies have it all—soft, chewy centers, crisp edges, and a melt-in-your-mouth trio of white, milk, and dark chocolate chips in every bite. Whether you’re baking these for an after-school snack, a weekend baking project, or just to satisfy your sweet tooth, they’re guaranteed to be a hit with both kids and adults alike.

I’ve made these cookies so many times, and every single time, they vanish faster than I can plate them! My kids practically circle the oven, peeking through the glass to see if they’re done. And I can’t blame them—there’s something magical about biting into a warm, gooey cookie loaded with pockets of melted chocolate.

But here’s the best part—these cookies are incredibly easy to make, even if you’re not a seasoned baker. The dough comes together in minutes, and with just a little patience (because chilling the dough is so worth it!), you’ll be rewarded with bakery-style cookies that look as good as they taste.

And let me tell you a secret—these cookies aren’t just for kids. They’re perfect for bake sales, potlucks, holiday cookie swaps, or even as a special midnight treat just for you. Because let’s face it, we all deserve a little indulgence now and then.

So, grab your mixing bowls and let’s make some magic in the kitchen. Don’t worry—I’ll guide you through every step, and before you know it, your house will smell like chocolate heaven!


Ingredients

1/2 cup + 1 tbsp unsalted butter, softened

1/2 cup light brown sugar

1/3 cup white granulated sugar

1 medium egg

1 tsp vanilla extract (optional)

2 cups plain flour (all-purpose flour)

1/3 cup cocoa powder

1 1/2 tsp baking powder

1/2 tsp baking soda

1/2 tsp sea salt

1/2 cup white chocolate chips

1/2 cup milk chocolate chips

1/2 cup dark chocolate chips


Instructions

  1. Cream the butter and sugars.
    In a large mixing bowl, beat the softened butter, light brown sugar, and white sugar until light and fluffy.
  2. Add the wet ingredients.
    Mix in the egg and vanilla extract until smooth and creamy.
  3. Combine the dry ingredients.
    In another bowl, whisk together the flour, cocoa powder, baking powder, baking soda, and sea salt.
  4. Mix the dough.
    Gradually add the dry ingredients into the wet mixture, stirring until a thick dough forms.
  5. Fold in the chocolate chips.
    Add the white, milk, and dark chocolate chips and gently fold them into the dough. This is where little hands love to help—just make sure they don’t eat all the chocolate before it goes in the cookies!
  6. Chill the dough for 1 hour.
    Why chill the dough? Refrigerating the dough helps solidify the butter, so the cookies won’t spread too much while baking. It also deepens the flavor and gives the cookies that bakery-style chewiness we all love.
  7. Preheat the oven to 350°F (175°C).
    Once the dough has chilled, preheat your oven and line a baking sheet with parchment paper.
  8. Weigh and shape the dough.
    For uniform cookies, weigh the dough into 65-gram balls. If you’re in the mood for bakery-style jumbo cookies, you can make larger portions—75–100 grams each—just remember to add an extra minute or two of baking time.
  9. Bake for 12–15 minutes.
    Bake until the edges are set but the centers still look slightly soft. They’ll firm up as they cool.
  10. Cool and enjoy!
    Let the cookies cool on the baking sheet for 5 minutes before transferring them to a wire rack. Or, if your kids are anything like mine, don’t be surprised if they sneak one while it’s still warm and gooey!

Nutrition Facts (Per Cookie – 65g size)

Calories: 310

Protein: 5.6g

Fat: 15.4g

Carbohydrates: 40.4g

These cookies are rich and indulgent—a perfect treat for special occasions (or any time you’re craving something sweet).


Why Everyone Loves These Cookies

Kids absolutely go crazy for these cookies, but don’t be surprised if the adults can’t resist them either. From the triple layers of chocolate to the soft and chewy texture, they’re impossible to say no to.

And the best part? They’re so versatile! Make them smaller for lunchbox treats, bake larger ones for parties, or even add a sprinkle of sea salt on top for an elevated flavor.

Whenever I bake these, I always have to set a few aside, or they’ll disappear before they even cool down. It’s no wonder my family calls these the “gone-in-a-flash cookies.”


Triple Chocolate Chip Cookies – A Treat Kids (and Adults) Adore!

Recipe by Tin-tin
Servings

18

servings
Calories

310

kcal

These rich and indulgent cookies are a chocolate lover’s dream, featuring white, milk, and dark chocolate chips in a soft and chewy cocoa base.

Ingredients

  • 1/2 cup + 1 tbsp unsalted butter, softened

  • 1/2 cup light brown sugar

  • 1/3 cup white granulated sugar

  • 1 medium egg

  • 1 tsp vanilla extract (optional)

  • 2 cups plain flour (all-purpose flour)

  • 1/3 cup cocoa powder

  • 1 1/2 tsp baking powder

  • 1/2 tsp baking soda

  • 1/2 tsp sea salt

  • 1/2 cup white chocolate chips

  • 1/2 cup milk chocolate chips

  • 1/2 cup dark chocolate chips

Directions

  • Cream the butter and sugars: In a large mixing bowl, beat the softened butter, light brown sugar, and white sugar until light and fluffy.
  • Add the wet ingredients: Mix in the egg and vanilla extract until smooth and creamy.
  • Combine the dry ingredients: In another bowl, whisk together the flour, cocoa powder, baking powder, baking soda, and sea salt.
  • Mix the dough: Gradually add the dry ingredients into the wet mixture, stirring until a thick dough forms.
  • Fold in the chocolate chips: Add the white, milk, and dark chocolate chips and gently fold them into the dough.
  • Chill the dough for 1 hour: Refrigerating the dough helps solidify the butter, preventing excessive spreading during baking, and enhances flavor.
  • Preheat the oven to 350°F (175°C): Once the dough has chilled, preheat your oven and line a baking sheet with parchment paper.
  • Weigh and shape the dough: For uniform cookies, weigh dough into 65-gram balls. For jumbo cookies, portion 75–100 grams and increase baking time slightly.
  • Bake for 12–15 minutes: Bake until the edges are set but the centers remain slightly soft; they’ll firm up as they cool.
  • Cool and enjoy: Let cookies cool on the baking sheet for 5 minutes before transferring to a wire rack. Enjoy warm or store for later!

Final Thoughts: Bake These Today!

These Triple Chocolate Chip Cookies are a guaranteed hit, whether you’re making them for kids, friends, or just yourself (no judgment here!). With their rich chocolate flavor and bakery-perfect texture, they’re bound to become your go-to cookie recipe.

So, what are you waiting for? Grab your apron, preheat that oven, and get ready to bake cookies that’ll make you the hero of your household. And don’t forget to let me know—did your kids manage to wait until they cooled, or did they sneak one straight off the tray?

Happy baking!

Hi friends! Did you know that chocolate crinkles are one of my all-time favorite cookies? Every bite takes me back to my childhood. My sister used to bring these home after work, and they always made me feel so loved. That’s why they’re so special to me.

Today, I’m so excited to share this recipe with you. I hope it brings the same happiness to your family and loved ones as it does to mine. Let’s bake some love and sweetness together!


Baking, for me, is more than just mixing ingredients. It’s about creating memories that stay with you forever. These chocolate crinkles are perfect for any occasion—birthdays, Christmas, or even just an afternoon snack. They never disappoint.

I remember the first time I tried making these cookies. I was nervous, but when I saw the beautiful cracks forming in the oven, I knew I had made something magical. Over the years, this has become my favorite way to show people I care.

So, put on your apron and let’s get baking. I promise these cookies will steal the show at your table!


Ingredients You’ll Need:

  • 2 cups all-purpose flour
  • 1 cup unsweetened cocoa powder
  • 2 cups white sugar
  • 2 tsp baking powder
  • 1 tsp salt
  • 1/2 cup vegetable oil
  • 4 eggs
  • 2 tsp vanilla extract
  • 1/2 cup (or more) confectioners sugar for coating

Step-by-Step Directions:

Step 1: Mix the Dry Ingredients

In a large mixing bowl, whisk together the flour, cocoa powder, sugar, baking powder, and salt until everything is well combined. This step ensures all the dry ingredients are evenly distributed for a consistent dough.

Step 2: Combine the Wet Ingredients

Create a well in the center of the dry ingredients and add the eggs, vegetable oil, and vanilla extract. Start mixing gently with a spatula, then switch to a hand mixer or stand mixer and blend until the dough becomes thick, smooth, and slightly sticky.

Step 3: Chill the Dough

Scrape the dough into a ball and wrap it tightly with plastic wrap. Refrigerate it overnight or for at least 4 hours. Chilling the dough makes it easier to roll and helps develop the flavors.

Step 4: Prepare for Baking

Preheat your oven to 350°F (175°C). Line your baking sheets with parchment paper to prevent sticking and make cleanup easier.

Step 5: Shape and Coat the Dough

Scoop out about a 1tbs or 1 1/2tbsp of dough and roll it into a ball. Drop the dough ball into a bowl of confectioners sugar and roll it around until fully coated. Make sure the coating is thick for a beautiful crinkle effect.

Step 6: Arrange and Bake

Place the coated dough balls on the prepared baking sheet, leaving about 2 inches of space between them. Bake for 12–15 minutes or until the edges are firm and the centers are still soft. The cracks may appear early, so focus on the bake time and texture.

Step 7: Cool and Serve

Let the cookies cool on the baking sheet for about 10 minutes. They’ll continue to firm up as they cool, giving you that perfect soft and fudgy texture we all love.


Pro Tips for Perfect Chocolate Crinkles:

  • Keep the Dough Cold: Chilling the dough overnight keeps it firm and easier to handle while baking. It also helps create the perfect cracks!
  • Generous Sugar Coating: Make sure to coat each ball completely with confectioners sugar. Don’t skimp—this is what gives them that beautiful crinkle effect.
  • Watch the Bake Time: Bake for 12–15 minutes. The cracks may show up early, but don’t rely on appearance alone. Focus on texture—edges should feel firm, and the centers should be slightly soft and moist. If in doubt, test one with a toothpick; it should come out with a few moist crumbs, not wet batter. Remember, the cookies will firm up as they cool, so avoid overbaking!

Best Chocolate Crinkles Recipe Ever!

Recipe by Tin-tin
Servings

4

servings
Calories

300

kcal

These classic holiday cookies have a fudgy chocolate center, a crackled surface, and a dusting of powdered sugar for a festive touch.

Ingredients

  • 2 cups all-purpose flour

  • 1 cup unsweetened cocoa powder

  • 2 cups white sugar

  • 2 tsp baking powder

  • 1 tsp salt

  • 1/2 cup vegetable oil

  • 4 eggs

  • 2 tsp vanilla extract

  • 1/2 cup (or more) confectioners sugar for coating

Directions

  • Step 1: Mix the Dry Ingredients
  • In a large mixing bowl, whisk together the flour, cocoa powder, sugar, baking powder, and salt until well combined.
  • Step 2: Combine the Wet Ingredients
  • Create a well in the center of the dry ingredients. Add the eggs, vegetable oil, and vanilla extract. Mix gently at first, then blend with a hand or stand mixer until the dough becomes thick, smooth, and slightly sticky.
  • Step 3: Chill the Dough
  • Form the dough into a ball, wrap it tightly with plastic wrap, and refrigerate overnight or at least 4 hours. This makes it easier to roll and enhances the flavor.
  • Step 4: Prepare for Baking
  • Preheat your oven to 350°F (175°C) and line baking sheets with parchment paper.
  • Step 5: Shape and Coat the Dough
  • Scoop out 1–1.5 tablespoons of dough and roll into balls. Coat each ball in confectioners sugar, ensuring a thick coating for the crinkle effect.
  • Step 6: Arrange and Bake
  • Place coated dough balls on the prepared baking sheet, leaving 2 inches between them. Bake for 12–15 minutes until the edges are firm but centers remain soft.
  • Step 7: Cool and Serve
  • Allow cookies to cool on the baking sheet for 10 minutes. They’ll firm up as they cool, resulting in a soft, fudgy texture. Enjoy!

Notes

  • Keep the Dough Cold: Chilling the dough overnight keeps it firm and easier to handle while baking. It also helps create the perfect cracks!
  • Generous Sugar Coating: Make sure to coat each ball completely with confectioners sugar. Don’t skimp—this is what gives them that beautiful crinkle effect.
  • Watch the Bake Time: Bake for 12–15 minutes. The cracks may show up early, but don’t rely on appearance alone. Focus on texture—edges should feel firm, and the centers should be slightly soft and moist. If in doubt, test one with a toothpick; it should come out with a few moist crumbs, not wet batter. Remember, the cookies will firm up as they cool, so avoid overbaking!

Final Thoughts

Thank you so much for baking along with me! I hope you enjoyed making these chocolate crinkles as much as I did. They’re a simple treat, but they never fail to bring smiles and sweet moments. Whether you’re baking for family, friends, or just yourself, these cookies are always a hit.

If you try this recipe, I’d love to hear how it turned out for you! Leave a comment below and share your baking stories. Don’t forget to like, subscribe, and share this recipe with your fellow bakers. 😊

Happy baking, and may your kitchen always be filled with love and sweetness!