

Welcome to My Kitchen!
Cheesecake has always been one of my family’s favorite desserts, and I’m so excited to share this tried-and-true recipe with you today. If you’re anything like me, you know there’s something truly special about baking from scratch—the love, the care, and the magic that goes into every step. My husband has always been a little picky when it comes to cheesecake, especially the store-bought kind. But the first time I made this recipe, he was hooked! Now it’s a staple at every family gathering, holiday, and celebration.
What’s even more special about this recipe is that it’s my second child’s absolute favorite dessert. Anytime there’s a celebration—or even just a lazy Sunday afternoon—they’ll be the first one asking, “Can we make cheesecake?” And honestly, how can I say no? It’s one of those desserts that feels fancy but is surprisingly simple to make. Whether it’s your first time baking a cheesecake or your hundredth, I’ll guide you through each step to ensure it turns out perfect.
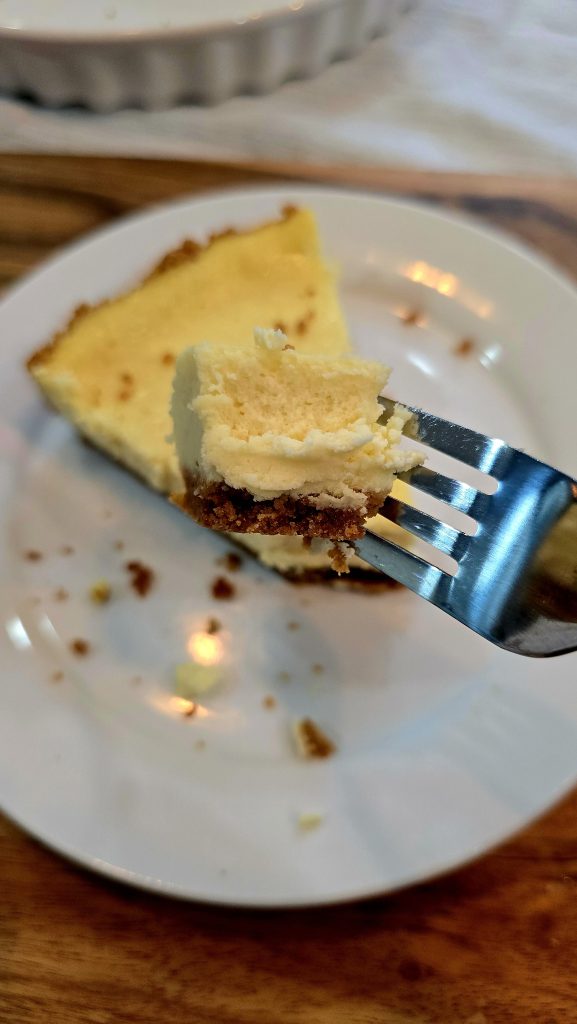
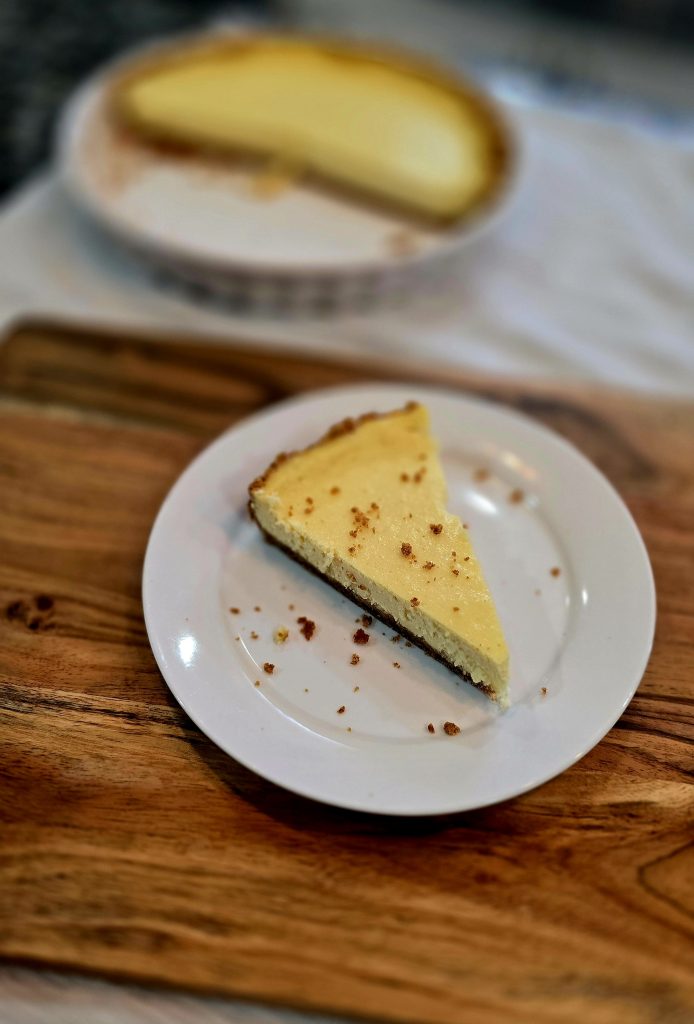
This cheesecake is rich, creamy, and beautifully balanced with a buttery graham cracker crust. It’s surprisingly easy to make, and I’ll walk you through each step to ensure it turns out perfect. Whether you’re an experienced baker or just starting out, this recipe is for you. And as a bonus, I’ve included nutritional information to help you keep track of portions—because desserts can be enjoyed without guilt when we plan ahead! Let’s dive into this delicious adventure.
Nutrition Information (Per Serving – Approx. 12 Servings)
- Calories: 320
- Total Fat: 22g
- Saturated Fat: 13g
- Cholesterol: 110mg
- Sodium: 210mg
- Total Carbohydrates: 25g
- Sugars: 18g
- Protein: 5g
The Perfect Graham Cracker Crust
A good cheesecake starts with a great crust. This buttery graham cracker crust has just the right amount of sweetness and crunch to balance the creamy filling.
Ingredients:
- 1/4 cup brown sugar (light or dark works fine)
- 2 cups graham cracker crumbs (I love using cinnamon-flavored graham crackers for extra flavor)
- 1 stick unsalted butter, melted
Instructions:
- Preheat your oven to 325°F (163°C).
- In a mixing bowl, combine the graham cracker crumbs and brown sugar. Pour in the melted butter and stir until the mixture is evenly coated and resembles damp sand.
- Transfer the mixture into a 9-inch springform pan. Press it down firmly using the back of a measuring cup or spatula to create a compact, even layer. Don’t forget to press some crumbs slightly up the sides for a nice border.
- Bake the crust for 10 minutes. Once baked, set it aside to cool completely while you prepare the filling.
Creamy Cheesecake Filling
The filling is where the magic happens. It’s velvety, rich, and full of flavor without being too heavy.
Ingredients:
- 16 oz cream cheese, softened (room temperature is key for smooth blending)
- 2/3 cup granulated sugar
- 2/3 cup sour cream
- 2 1/2 tablespoons all-purpose flour
- 1 tablespoon vanilla extract
- 3 large eggs
Instructions:
- Lower the oven temperature to 300°F (149°C).
- In a large mixing bowl, beat the softened cream cheese with an electric mixer until completely smooth and creamy. Be patient—this step is key to avoiding lumps later.
- Add the sour cream, vanilla extract, sugar, and flour. Mix on low speed until all ingredients are fully blended. Scrape down the sides of the bowl to ensure everything is incorporated.
- Add the eggs one at a time, mixing gently after each addition until just combined. Avoid overbeating to prevent cracks in the cheesecake.
- Pour the filling into the cooled crust. Smooth the top with a spatula to create an even layer.
- Bake for 1 hour. The edges should look set, but the center will still have a slight jiggle. This is completely normal—it will firm up as it cools.
- Once baked, take the cheesecake out of the oven and place it on a cooling rack. Let it cool at room temperature until it is no longer warm. This gradual cooling process helps prevent cracks and ensures a smooth texture.
Cooling and Serving Tips
Once the cheesecake has cooled to room temperature, transfer it to the refrigerator and chill for at least 4 hours—or overnight for best results. The flavor and texture improve with time!
When ready to serve, run a knife around the edge of the pan to loosen the cheesecake before releasing the springform sides. Use a sharp knife to slice, wiping it clean between cuts for neat slices.
Optional Toppings and Variations
- Fresh Berries: Top with strawberries, blueberries, or raspberries and a drizzle of honey or fruit glaze.
- Chocolate Lovers’ Dream: Add a layer of chocolate ganache or sprinkle chocolate shavings on top.
- Caramel Swirl: Drizzle with caramel sauce and a sprinkle of sea salt for a sweet-and-salty twist.
- Citrus Burst: Stir in a bit of lemon or orange zest to the filling for a bright, refreshing flavor.
Final Thoughts
And there you have it—your very own homemade cheesecake that’s sure to become a favorite in your household, just like it is in mine. Baking doesn’t have to be intimidating, and this recipe is proof that simple ingredients can create something truly special.
If you give this cheesecake a try, I’d love to hear how it turned out! Leave a comment, share a picture, or tag me online—I can’t wait to see your creations. And don’t forget to bookmark my blog for more delicious recipes and kitchen tips. Thank you so much for stopping by! 💕😊
Happy baking!